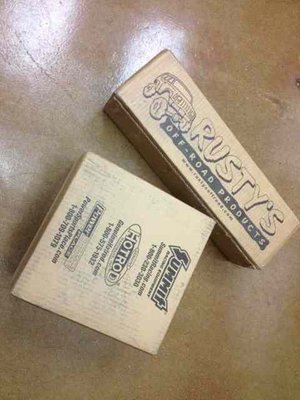
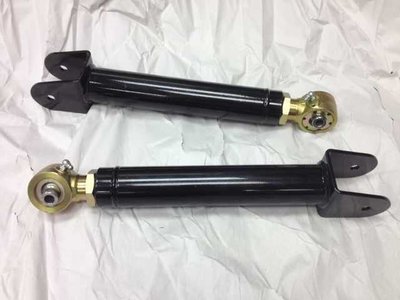
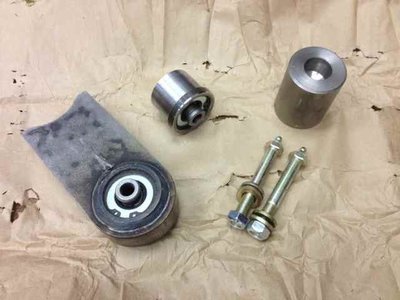
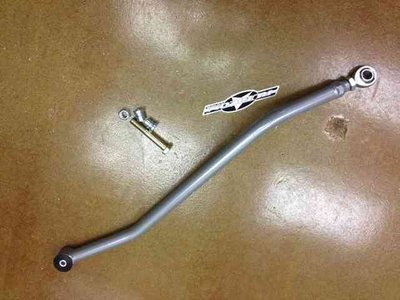
Greg, what is the cylinder shaped object in the second picture, top right? I can't decide where it would go?
i think thats an install tool for the joint?
greg one thing you may need to watch out for with that track bar is that it may hit your diff cover at full bump. i'm not sure how much lift you have, but on mine it would be all up in the diff cover. thats why i ordered a JKS cause its bent around the diff cover, and offset.

Looks good man. Just give me a shout if you need any help with the install, probably be tied up this weekend, but am around most week nights if you need a hand.
Began work on fixing/upgrading the front end tonight. First thing was to get the new currie kit installed that upgrades the axle side bushings to Johnnie Joints. I attacked what I thought was going to be the hardest first. Removing the pressed in bushing from the casting attached to the diff housing. After trying to beat on it with absolutely no luck, I started to cut into the bushing to try to remove the center. I found a pretty easy way to accomplish this whole task. I used these tools plus a saws-all to get the bushing out.
![]()
I first used the bur in my drill to eat the rubber away from around the center pin. Then beat the pin out (came out easy).
![]()
Then once the pin was out, there was plenty of room to get the saws-all blade in there to cut the metal sleeve. I just made two cuts and the rest of the bushing came right out.
Then using the supplied tool, I inserted the new Johnnie Joint insert into the casting. I tried to use a dead blow hammer (I was trying to be gentle) but that didn't cut it, I had to go to the little sledge to get it seated properly.
![]()
Here it is installed.
![]()
Now that's done, on to the links. Because I have to have three of the links in place before I can upgrade the other axle side mount.
Here are the new links laid out. One at the shortest it can go and one at the longest. I ended up somewhere in the middle.
![]()
This is my first time messing with the front end to this extent by myself. So lets just say I learned a lot. I started with leaving my lower control arms the way they were and then setting the upper link to a length that looked about right. Then checked the caster using my phone (shown below). Then I adjusted the upper control arm length until I had about 6 degrees caster. (you can barely see it in the picture, but I attached a screw to the lower nut on the inner C to extend the line out so I could see it). See ... 5.96 degrees.
![]()
Once I knew the link lengths were going to give me the right caster, I took a look at the bump stop alignment at full bump.
![]()
The above picture was after one large adjustment, I forgot to take a picture before. But as you can see, it is still off. I then shortened the control arms another half inch.
![]()
That's more like it. I still don't like the fact that the pucks are angled back, but there isn't much I can do about that unless I want to cut the brackets off and move them, and I don't. I removed the links 4 different times trying to get the alignment right. It was good to have them out though. The lower links needed some work. The flex joints were loose and needed greased. So I took the time to clean, adjust and lube them. Also inspected the bushings at the axle end of the lowers, they looked good.
Then it was time to hack off the top of the passenger side axle mount. The directions say to cut 2.5" up from the axle tube. I did that, then I had to bend the remaining bracket back into shape and insert the provided bracket. Shown here.
![]()
And some more pics of the links before welding up the bracket. This is where I leave it tonight.

![]()
![]()
![]()
the easiest way to get that bushing out is to put a torch to it, then cut out the metal sleeve with a saw-zall. even if its a little tiny torch running off a screw on propane tank it will get the job done. but how you did it works too greg. everything looks great so far! :cheers: